
How to Install Boat Cleats on Your Dock like a Pro


Dock cleat installation is one of the most critical steps in building a safe, functional dock — and one of the most commonly done wrong.
Here's how professional marine contractors install dock cleats correctly:
- Choose the right cleat — size, material, and type based on the vessel and dock surface
- Plan placement — space cleats every 8 to 10 feet, away from dock edges and walking paths
- Drill pilot holes — through the decking and into the structural frame below, not just the surface boards
- Install a backing plate — underneath the dock to spread the load and prevent pull-through
- Fasten with through-bolts — use stainless steel or galvanized hardware with locking nuts
- Seal every hole — apply marine-grade sealant around each bolt to prevent water intrusion
- Test the installation — apply firm pressure to confirm the cleat is solid before tying up
Most people treat cleats like simple hardware. They're not. A cleat is a load-bearing point — it absorbs the full force of a moored vessel fighting wind, tides, and waves. On Long Island, where Nor'easters and tidal surges are a real threat, a poorly installed cleat doesn't just fail — it can damage the boat, the dock, and the property.
This guide covers everything you need to know about professional-grade dock cleat installation, from material selection to structural attachment methods used by marine contractors across Nassau and Suffolk Counties.

Similar topics to dock cleat installation:
When engineering shoreline infrastructure, every component must be rated to handle extreme physical forces. Dock cleats are the primary connection point between a heavy, moving vessel and a fixed timber or steel structure. To ensure long-term structural integrity, marine contractors evaluate the expected load-bearing capacity of the mooring system before selecting hardware.
The sizing of the cleat and its corresponding fasteners must match the scale of the vessels utilizing the dock. As a professional rule of thumb, cleat length should be approximately one inch for every 1/16 inch of mooring line diameter. Furthermore, boat size directly dictates the minimum physical length of the hardware:
| Boat Length (Feet) | Cleat Size (Inches) | Recommended Bolt Diameter (Inches) | Primary Application / Load Type |
|---|---|---|---|
| Up to 20' | 6" | 5/16" | Light residential, small runabouts |
| 20' to 30' | 8" | 3/8" | Medium center consoles, local bays |
| 30' to 40' | 10" | 7/16" | Large cruisers, tidal canal environments |
| 41' to 60' | 12" | 1/2" | Heavy commercial, open bay exposure |
When we design custom docks, we ensure that the structural frame is built to transfer these loads directly into the pilings. To learn more about how we construct these heavy-duty systems, read our comprehensive guide on boat dock construction.
Selecting Heavy-Duty Materials for Long Island Marine Environments
Long Island's south shore, from Babylon to Massapequa, presents some of the most corrosive marine conditions in the Northeast. The constant exposure to high-salinity water, rapid freeze-thaw cycles, and heavy wakes requires materials that resist degradation.
- Grade 316 Stainless Steel: This is the absolute gold standard for saltwater environments like Southampton and West Hampton. Grade 316 stainless steel contains molybdenum, which provides superior resistance to pitting and crevice corrosion.
- Galvanized Steel: Highly valued for its exceptional structural strength and cost-effectiveness in heavy commercial applications. While hot-dipped galvanized cleats are incredibly strong, they will eventually show signs of rust over decades of exposure to harsh tides.
- Heavy-Duty Aluminum: Excellent for lightweight applications and highly resistant to corrosion in brackish water. However, aluminum does not perform as well as stainless steel under extreme, continuous shock loads.
Selecting the wrong metal can lead to galvanic corrosion, which rapidly weakens both the fastener and the structural frame. For a deeper dive into choosing the right hardware, you can read our guide on boat dock accessories or review this external step-by-step guide on how to install a dock cleat.
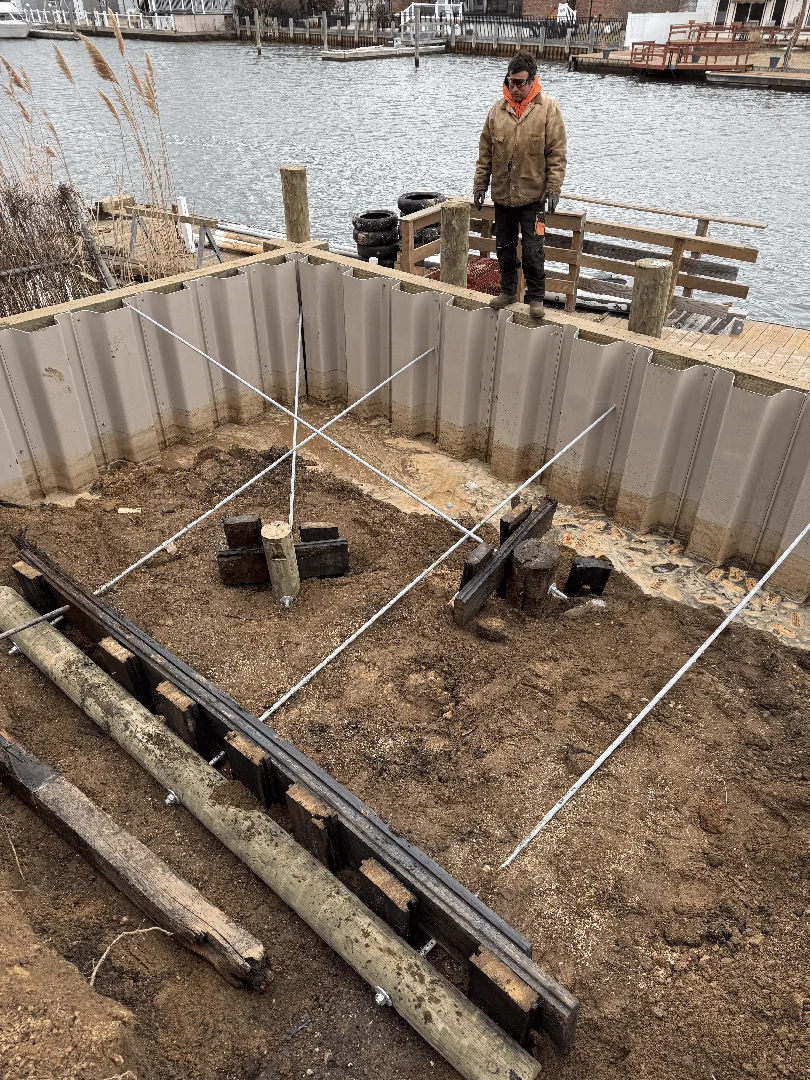
Structural Requirements and Spacing for Secure Dock Cleat Installation
A common mistake in dock building is mounting cleats solely to the deck boards. Under heavy load, a cleat secured only to decking will easily tear the boards right off the frame. Professional dock cleat installation requires direct integration with the dock's substructure.
The support joists for the dock boards must be spaced to a maximum of 20 inches on center to ensure a rigid frame. When we install mooring hardware in high-energy zones like West Islip or Brightwaters, we position cleats directly over the structural joists or double-up the blocking underneath.
Cleats should be spaced approximately every 8 to 10 feet (and up to 15 feet on larger commercial piers) to allow bow, stern, and spring lines to stretch naturally. This spacing distributes the load evenly across the entire dock footprint rather than concentrating the force on a single point. To prevent wood splitting and maximize leverage, cleats must be set back from the deck edge and reinforced with a heavy-duty backing plate. For more technical insights into dock framing, read our Dock Builder Complete Guide.
Step-by-Step Professional Dock Cleat Installation Techniques
To achieve a professional-grade installation that meets municipal engineering standards in Nassau and Suffolk Counties, our crews follow a precise, high-spec installation sequence:
- Substructure Alignment: We locate the main structural joists beneath the decking. The cleat must span or directly bolt through these primary framing members.
- Marking and Drilling: Using the cleat base as a template, we mark the bolt holes. We drill clean pilot holes through the decking and the structural frame using a high-speed marine bit.
- Sealing the Penetrations: Water intrusion is the enemy of timber and composite docks. We apply a generous amount of marine-grade polyurethane sealant (such as 3M 5200) inside the drilled holes and around the base of the cleat to prevent rot and water logging.
- Setting the Backing Plate: Beneath the dock, we slide a custom-fabricated Grade 316 stainless steel backing plate or oversized fender washers over the bolts. This plate prevents the nuts from crushing the wood fibers under extreme tension.
- Fastening and Torquing: We thread on stainless steel locking nuts (nyloc) and tighten them to exact torque specifications. Over-tightening can crack composite decking or split timber, while under-tightening allows vibration to loosen the assembly over time.
For a comprehensive breakdown of entire dock builds from the pilings up, refer to our Dock Installation Complete Guide.
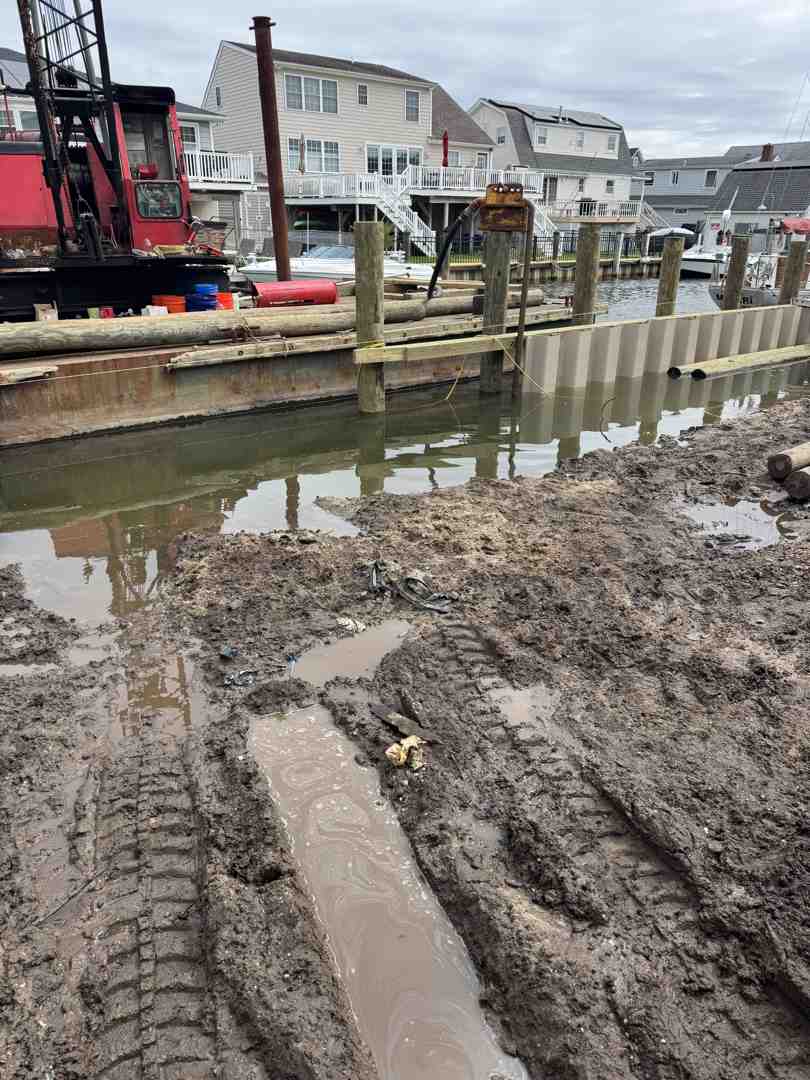
Avoiding Mooring Failures: Why Professional Installation Matters
Mooring failures are rarely caused by a broken rope; instead, they are almost always the result of a cleat pulling completely out of the dock. When a storm or Nor'easter hits the Great South Bay, the wind and tidal loads acting on a moored boat can exert thousands of pounds of upward and outward force.
Without a backing plate and structural framing attachment, the upward pull causes "decking pull-through." The bolts simply rip through the wood or composite boards, releasing the vessel and leaving behind severe structural damage to the dock.
By employing professional installation standards—including heavy-duty through-bolts, custom backing plates, and structural blocking—you protect your waterfront investment from sudden failure. Routine preventative maintenance, such as checking bolt tightness at the start of each season, ensures the system remains secure. For more information on maintaining your mooring hardware, read our Boat Cleat Installation Guide 2026.
Professional Marine Construction Services in Long Island
At Pearce Marine Construction, we understand that your dock is more than just a place to tie up—it is a significant investment that protects your property and withstands the harshest coastal elements. As a premier woman-owned marine construction company serving Nassau and Suffolk Counties, we bring generational expertise and meticulous craftsmanship to every project we touch.
From custom residential docks in Babylon and Merrick to heavy-duty commercial bulkheads in West Hampton and Cold Spring Harbor, we build shoreline infrastructure designed to last. We don't cut corners, and we don't use residential-grade hardware where marine-grade engineering is required.
If you want your dock built to the absolute highest standards of durability and strength, trust the local experts who know Long Island’s waters inside and out. Contact Pearce Marine for Custom Dock and Floating Dock Services today, and let us build a secure foundation for your waterfront property.
_compressed.webp)



Bring Your Vision to Life
Whether you're planning a custom dock, seawall, or boat lift, our experienced team is ready to deliver high-quality marine construction tailored to your needs. Pearce Marine Construction brings craftsmanship, precision, and a deep understanding of Florida’s waterways to every project. Let us help you create a durable, beautiful solution that stands the test of time. Get in touch now for a personalized estimate!